I’ve always treated two-factor authentication (2FA) like an annoyance: some chore I must perform for every login. SMS codes and authenticator apps were my go-to. I felt these were secure options until I learned 2FA wasn’t as secure as I thought—a clever phishing attack, SIM swapping, or man-in-the-middle could steal these codes in seconds.
This led me to try hardware-based 2FA, and I only wish I’d switched earlier. The setup wasn’t as complicated as I thought it would be. It was just one small key, a few taps, and suddenly I had secured my accounts from attacks I didn’t know were possible. It didn’t require copying fast-changing codes or SMS texts; rather, it was effortless and instant verification.
—
## What Hardware-Based 2FA Really Is
**Understanding how security keys take authentication to the physical level**
I always felt a hardware security key was a complex solution to digital security—something only sysadmins needed. But in reality, it is a simple security solution that adds a physical element—the hardware key—to your passwords before authentication is confirmed.
Hardware 2FA generates a unique public/private key pair for each website where you enable it. The hardware key holds and protects the private key, while the public key is sent to the website. Every time you attempt to log in, the website responds with a special request that your security key signs using the corresponding private key.
The website then uses the public key stored for your account to verify the signature. This is a highly secure check because the verification process is tied to the domain, making it impossible for a fake or phishing site to trick your hardware key into signing a request or providing a valid signature.
Over time, hardware keys have gradually become one of the strongest and most widely accepted second-factor options.
—
## Setting Up My First Security Key
**The step-by-step process turned out simpler than expected**
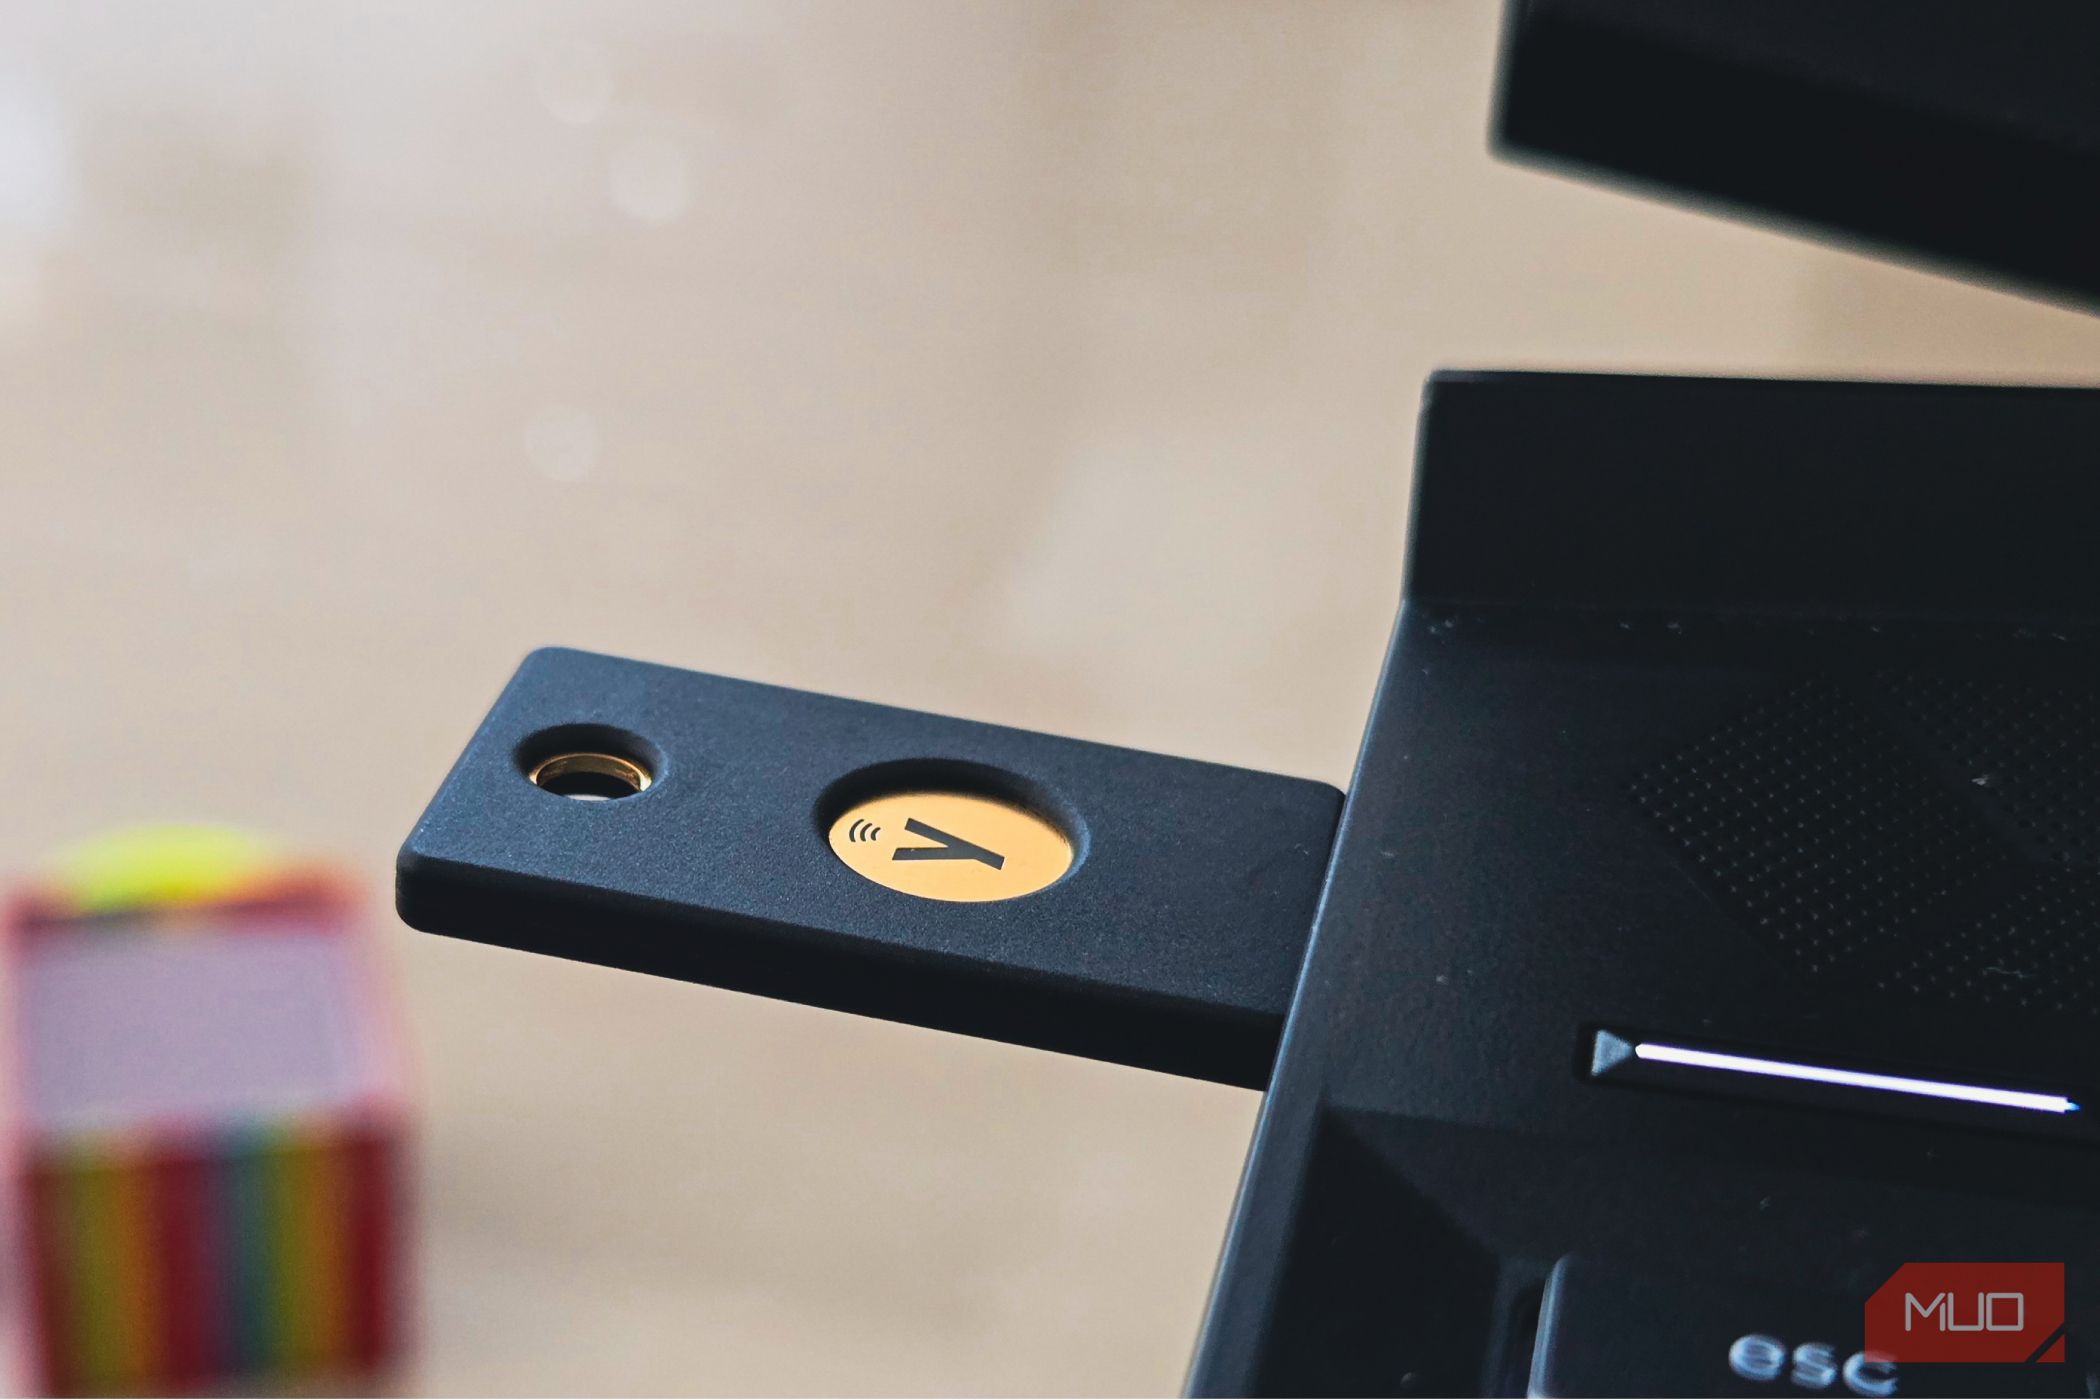
The setup process is easy. I set up the security key (USB-C + NFC) first on my Microsoft account, but while the exact steps will vary slightly on other services, there are many similarities:
1. Sign in to your Microsoft account.
2. Click the **Security** menu, then select **Manage how I sign in**.
3. Choose **Add a new way to sign in or verify**, and then select any option that includes **Security Key**. In Microsoft, this is under **Face, fingerprint, PIN, security key**.
4. Insert the key when prompted, then create and confirm a Security Key PIN.
5. Touch the key to complete the registration, then follow the prompt to name your key.
This setup took me less than three minutes, and afterward, logging in is a breeze: enter your password, tap the key, and you’re done.
You can also set a PIN for your security key to protect it if it’s lost or stolen.
While YubiKey devices often work most seamlessly and offer strong phishing protection, they come at a higher cost. Alternatively, you can convert a regular USB stick into a security key using special software. However, this DIY approach only locks your local PC and does not include a secure element or support the FIDO/WebAuthn protocols required for online account logins.
—
## Why a Security Key Beats App-Based 2FA
**Fewer attack surfaces, zero codes to copy, and peace of mind that scales**
Google Authenticator, Authy, and other authenticator apps offer a level of security, but hardware security keys provide better protection.
Authenticator apps generate codes based on a shared secret, and if that secret is leaked or phished, an attacker can generate valid codes. In contrast, hardware security keys use origin-bound cryptography, meaning the website domain is a participating party in the login attempt. Only the genuine site can be correctly signed by the key.
Perfect clones of the domain will fail since they don’t match the domain’s stored public key.
Using an authenticator app requires accessing your phone, finding the changing code, and entering it before it expires. A hardware key reduces this to just plugging it in or tapping it and pressing the key — a much faster and smoother process.
The key is universal for all services that support FIDO2/U2F (modern standards for phishing-resistant security keys), so instead of managing several authenticator apps, you use the same “possession” factor everywhere.
—
## Choosing the Right Type of Security Key
**Match your key to your devices for the best experience**
There are several connection formats for hardware security keys, and you should choose a device based on what works best with your devices:
– **USB-C** is ideal for Android phones, tablets, and modern laptops.
– **USB-A** works better for traditional PCs, though some newer security keys include both connectors.
– **NFC keys** are great for mobile convenience—you simply tap your phone to authenticate.
– For **iPhones and iPads**, Lightning, USB-C (with an adapter), or NFC options are best.
Avoid Bluetooth Low Energy (BLE) keys if possible, as they may cost more and require charging. Most standard security keys are passive and draw power directly from the device.
Regardless of which hardware key you choose, ensure it supports **FIDO2** and **U2F** standards. This guarantees broad cross-platform compatibility so your key stays relevant even if you change devices or ecosystems.
—
## One Small Key, a Massive Shift in Security
Using a hardware security key has changed how I think about online protection. It falls into the lean category of tools that enhance security without adding friction.
I no longer have to do constant code checks or wait for SMS messages. A single tap verifies my identity while being resilient against phishing, credential theft, and remote hijacking.
Physical, cryptographic verification is the future of account security, and passkeys and hardware keys are leading this shift. Hardware keys feel less like an extra step and more like the essential final step.
—
Embrace hardware-based 2FA and experience a more secure, seamless way to protect your online accounts.
https://www.makeuseof.com/i-set-up-hardware-based-2fa-simpler-than-i-thought/